
Manage categories
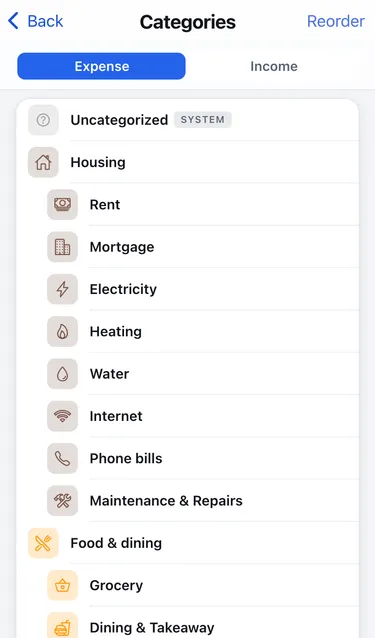
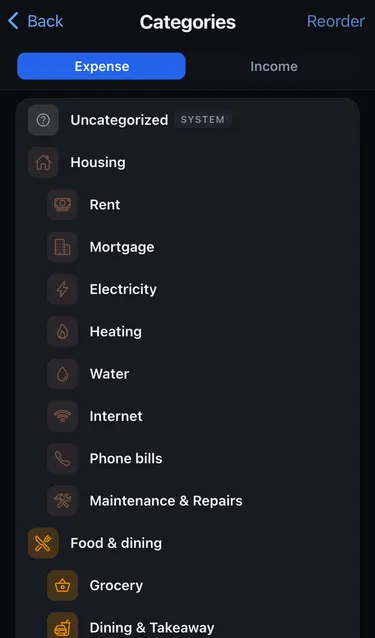
Go to Settings → Categories. Switch between Expense and Income at the top. Every workspace starts with a ready-made set of categories that you can change freely.
Add a category
Section titled “Add a category”- Tap + New category.
- Enter a Name and choose the Type: expense or income.
- Optionally choose a Parent category to nest it, or leave None (top level).
- Pick a Color and an Icon.
- Tap Create.
To add a subcategory directly, swipe a category row and tap Add child.
Edit or reorder
Section titled “Edit or reorder”- Tap a category to change its name, parent, colour or icon, then tap Save.
- Tap Reorder, drag the handles to change the order within a group, then tap Done.
Delete a category
Section titled “Delete a category”Swipe the row and tap Delete, then confirm. Items, rules and merchant defaults that used the category, or any of its subcategories, move to Uncategorized. Nothing is lost.
Uncategorized is marked System and can’t be deleted.