
Scan a receipt
Scan with the camera
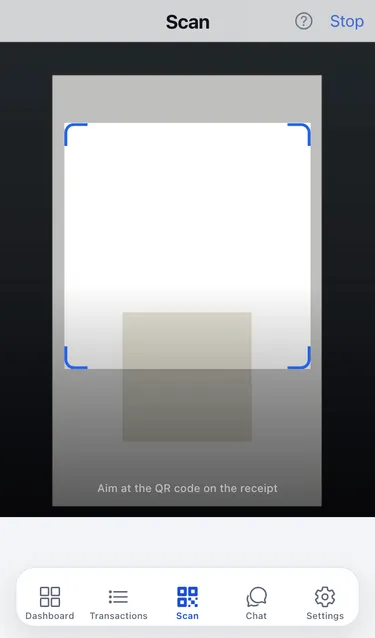
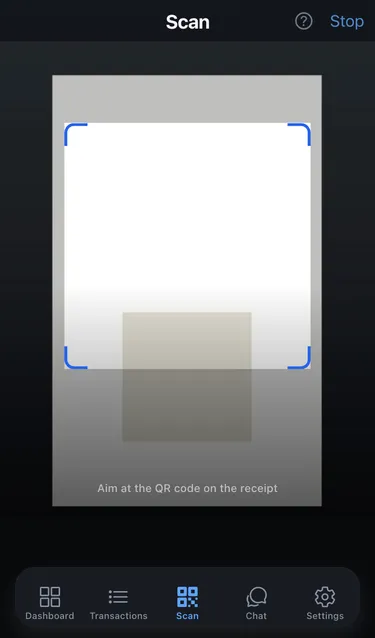
Section titled “Scan with the camera”- Open the Scan tab. The camera starts on its own.
- The first time, your phone asks for permission: allow Cashfinity to use the camera.
- Aim at the QR code on the receipt and hold the phone steady. Cashfinity reads it on its own.
- Wait while Cashfinity shows Fetching the receipt. This usually takes a moment.
- When you see Receipt added, tap Open receipt to see it, or Scan next to continue with another receipt.
Type the receipt ID instead
Section titled “Type the receipt ID instead”If your camera can’t read the code, for example because the receipt is faded or creased, you can enter the receipt ID by hand. It is printed on the receipt and starts with O-.
- On the Scan tab, tap Stop to turn off the camera. Below it you see Or paste an eKasa receipt ID if you can’t use the camera.
- Type or paste the ID into Receipt ID.
- Tap Fetch receipt.
To turn the camera back on, tap Start scanning.
What happens next
Section titled “What happens next”- The receipt becomes an expense in Transactions, dated when you paid, with every item listed.
- Each item is sorted into a category. Cashfinity first applies your categorization rules. Items no rule covers are suggested by AI, and items it isn’t sure about wait for you in the Review queue under Settings.
- Scanning the same receipt again doesn’t add it twice. You see Already scanned and nothing changes.